
"In heaven, chocolate has no calories and is served as the main course", Author is unknown but whoever wrote this, I thank you with all my heart! Enjoying anything and everything with chocolate is a pure form of pleasure. It is LOVE!
Jump to RecipeWe never celebrated or had a Halloween party when we were kids. It is only something we read in our history books at school and something we watched from a horror movie that gave us goosebumps. But nowadays, it is getting popular in my home country, the Philippines. My nephews and nieces are always excited about it, counting how many candies they collected from their trick or treats.
When I worked in Taiwan years ago, was the first time I watched parents celebrate Halloween with their kids, lots of chocolates, candies, cakes, etc.... Everything sweet that gives comfort and joy as the cold creeps into their skin. Halloween, the end of the most beautiful season and the beginning of the dark, cold winter of the year that is often associated with human death. But is also one of the days that most of the kids are looking forward to. Since then, I also kept looking forward to Halloween to enjoy with my kids.
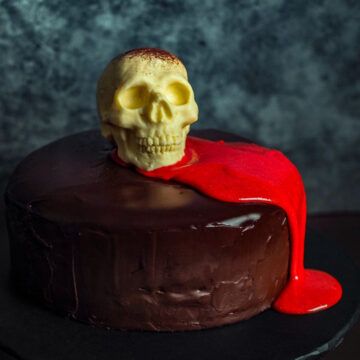
We celebrated my birthday two weeks ago with a chocolate caramel cake and the children of God said, "now that you got old, Halloween is coming". What an awful phrase to say, don't you think? "Wait till you see how the old woman goes sharper" I replied as we laughed out loud. Getting older and this Halloween inspired me to put this cake together. It is perfect, Death by Chocolate cake with a homemade signature. It has everything we need to welcome the coming dark and cold winter days.
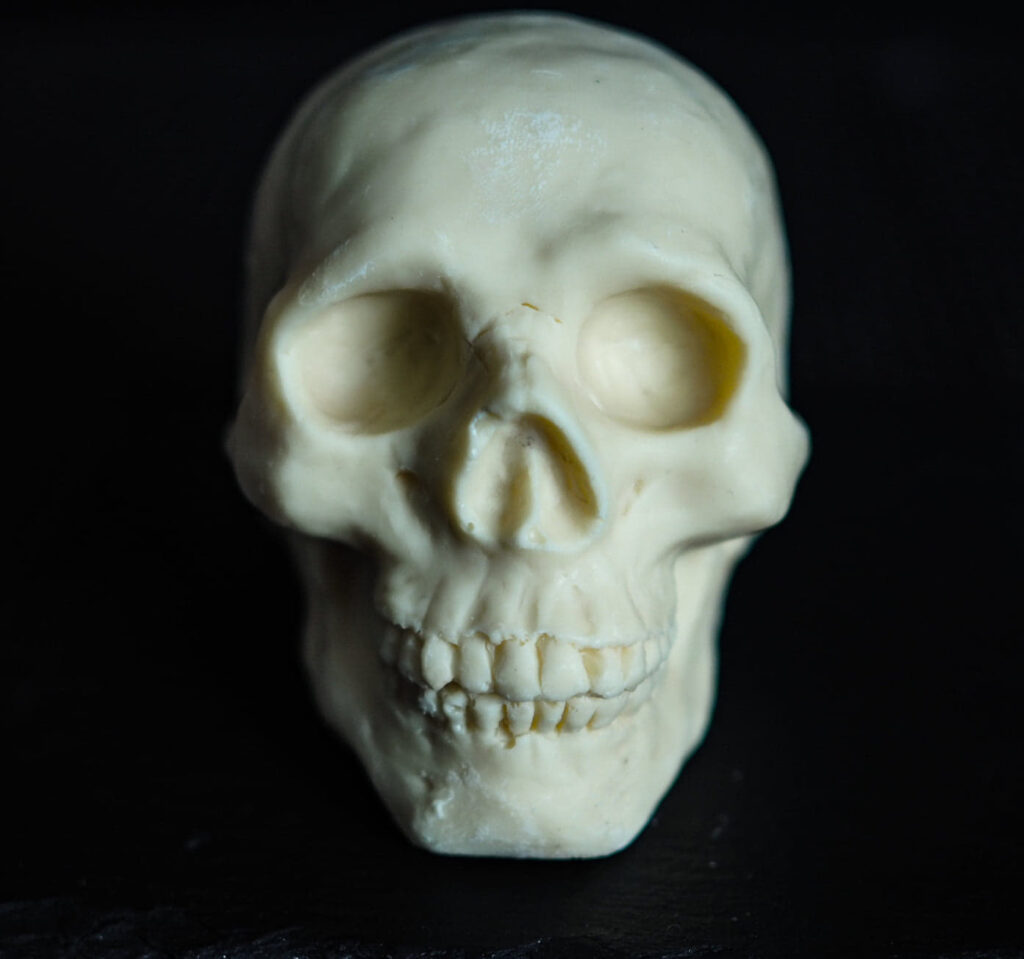
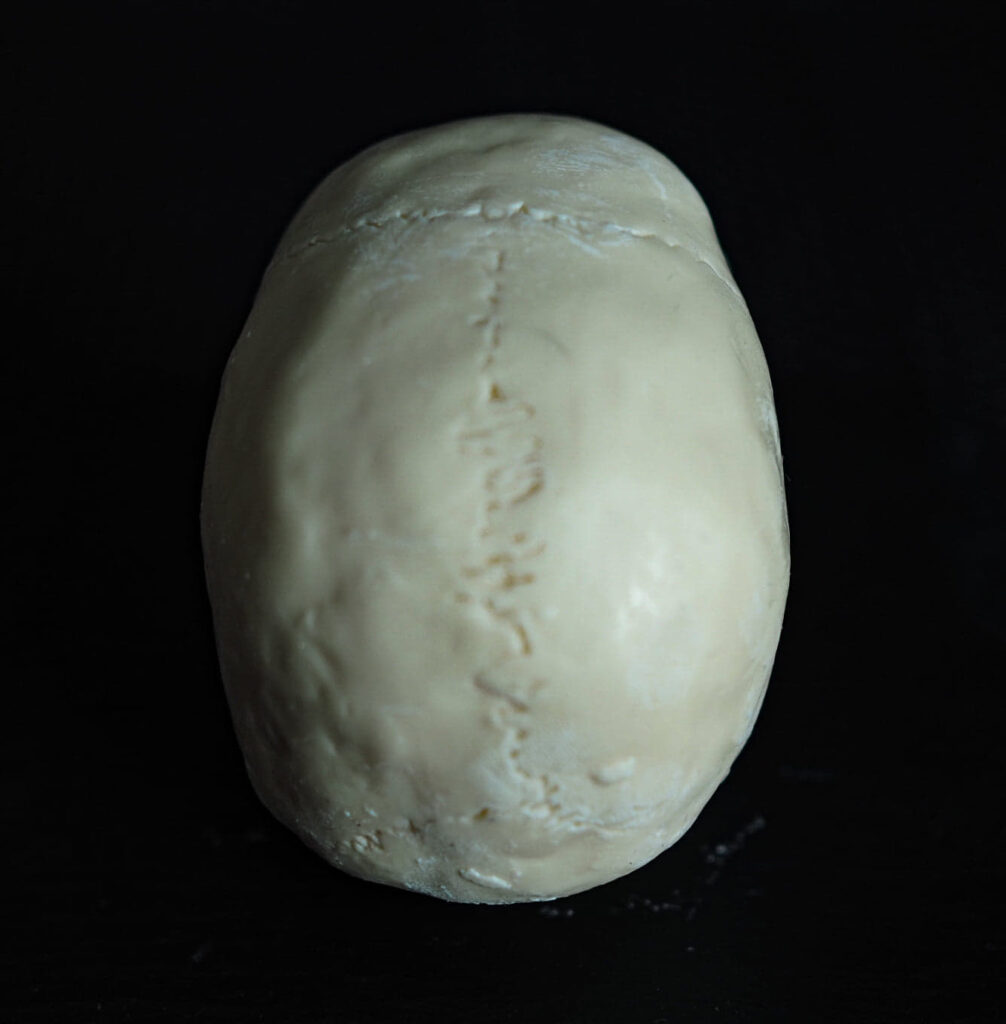
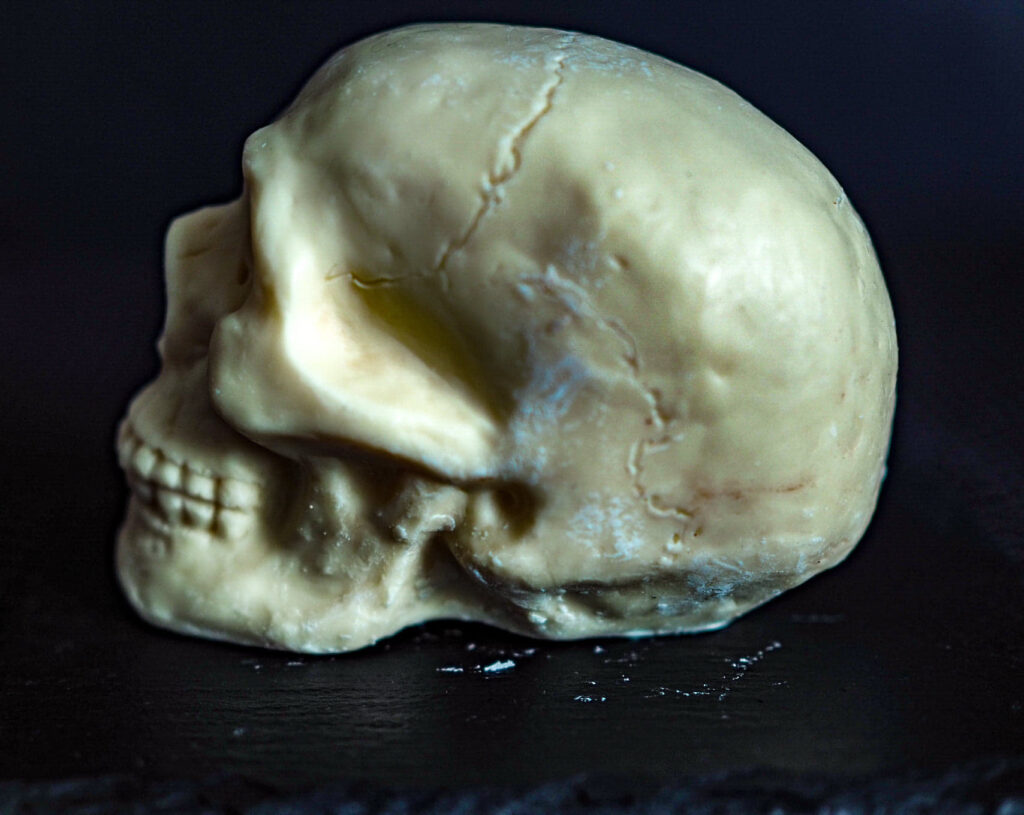
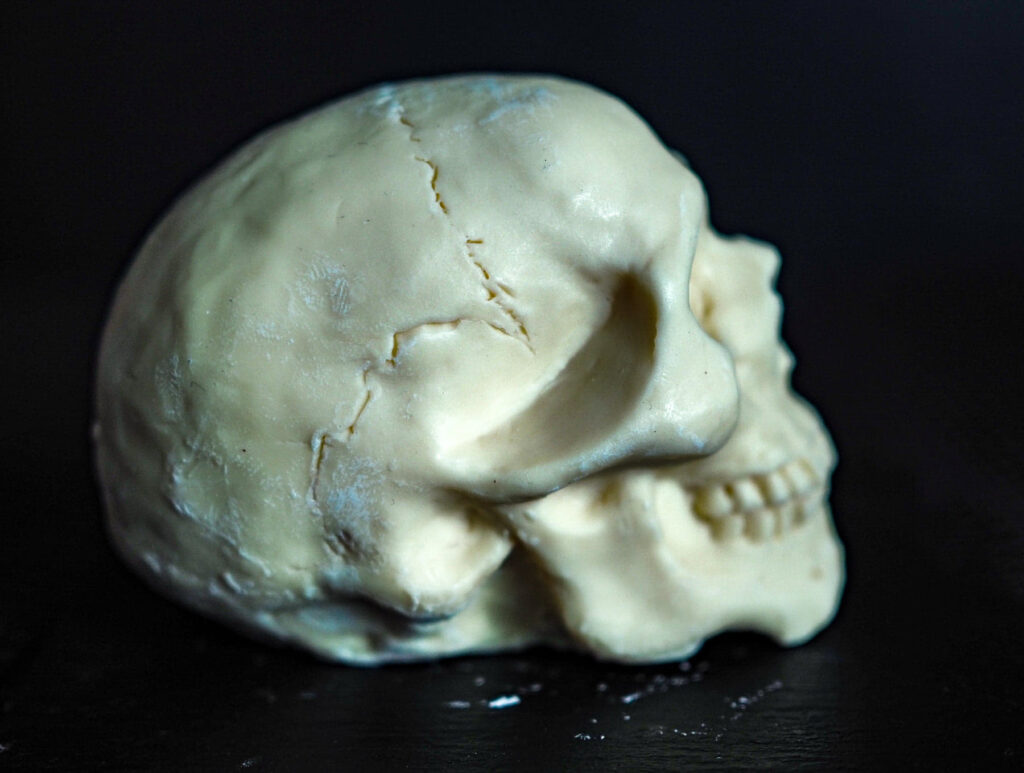
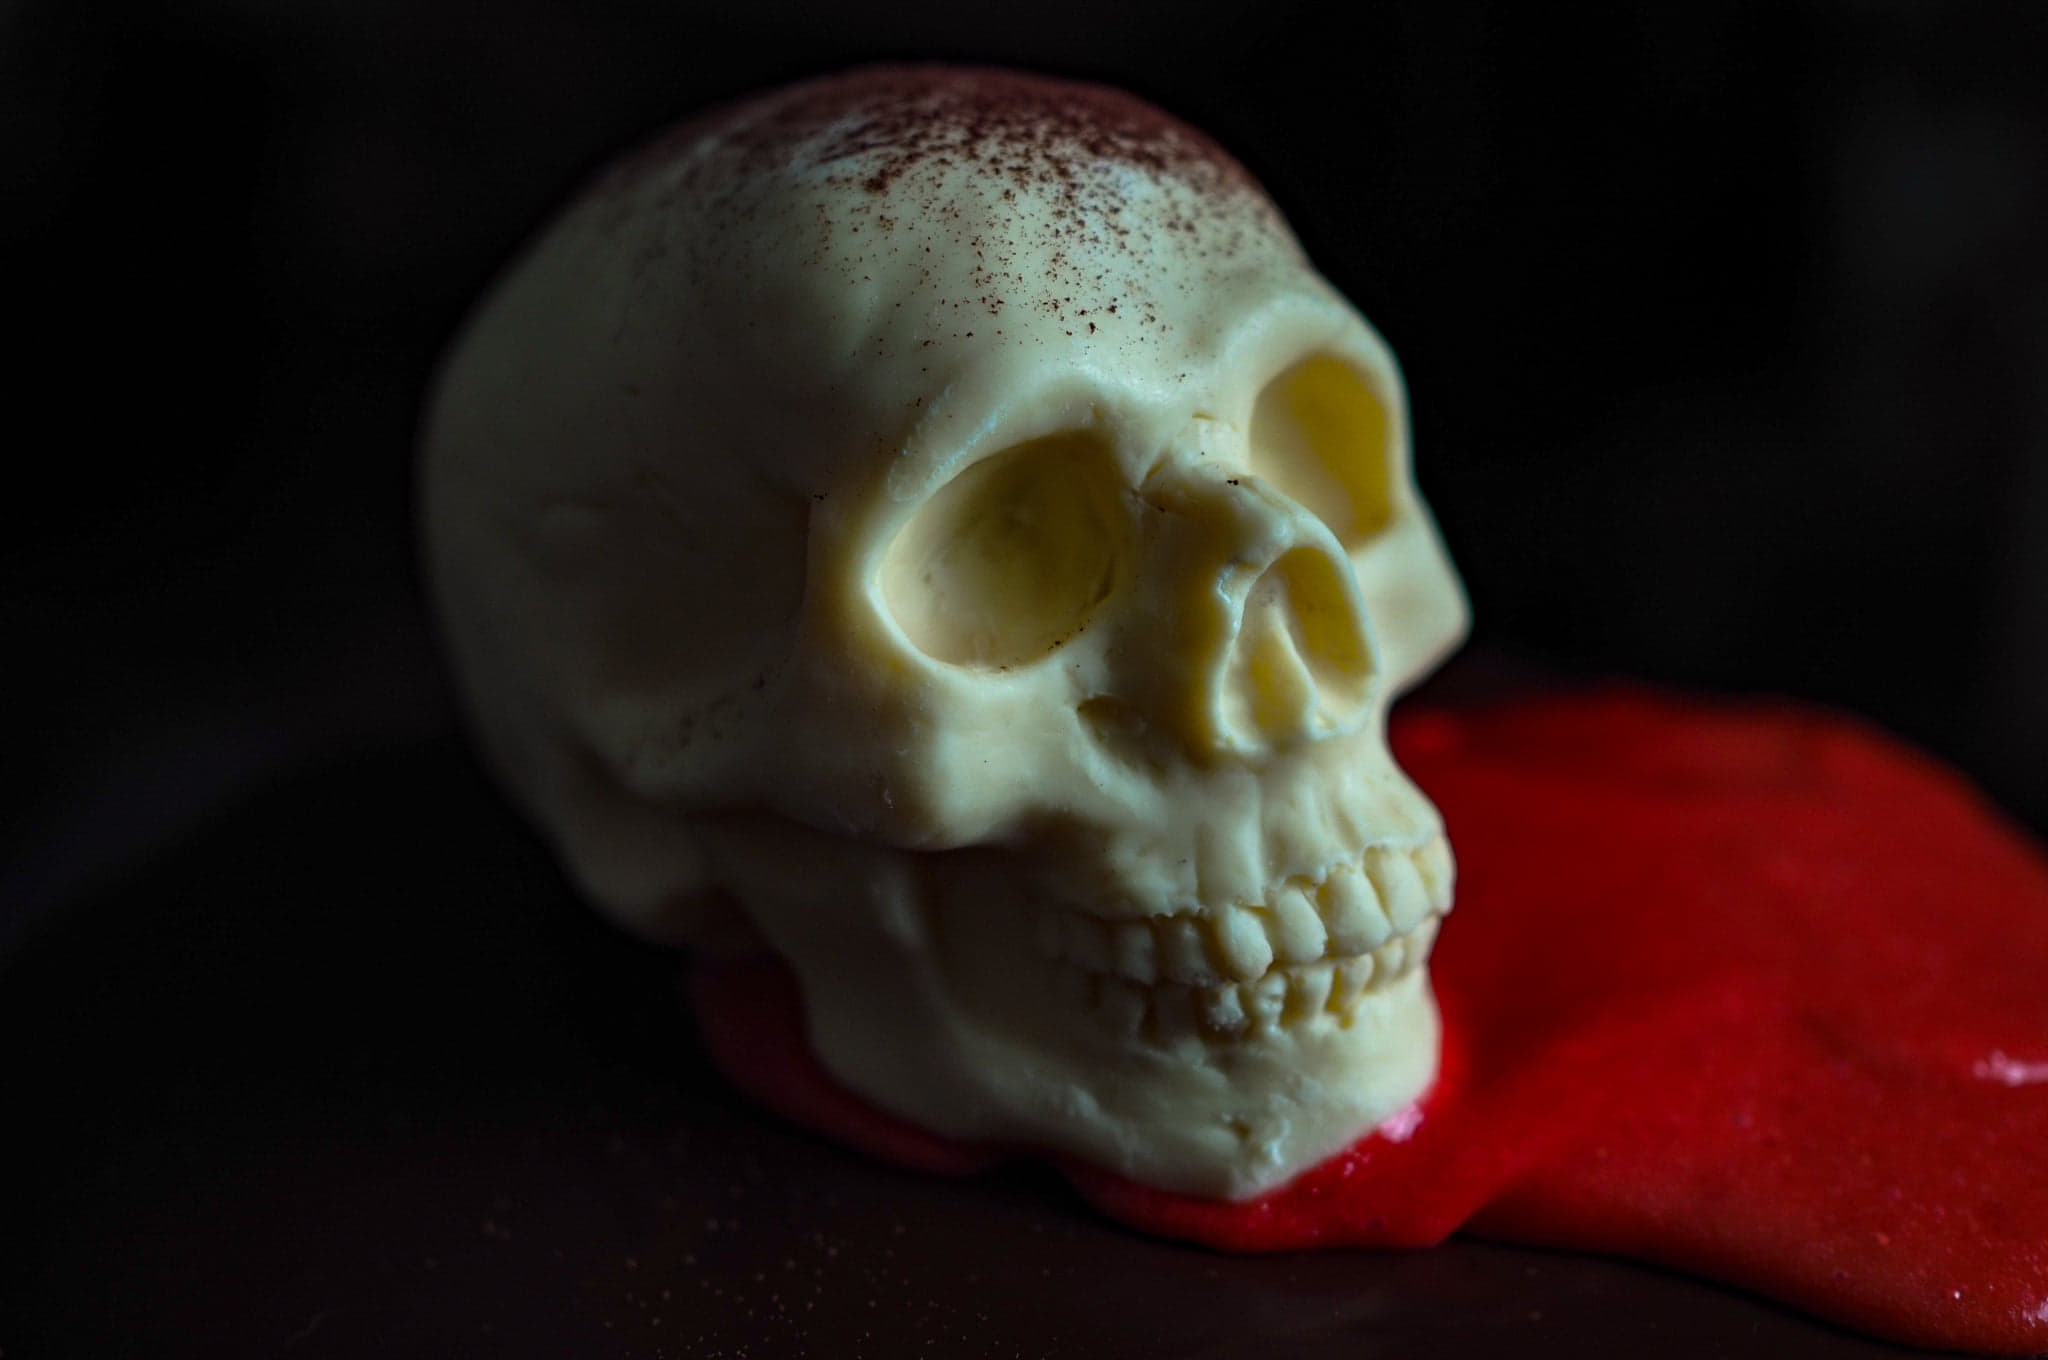
I was already settled on what to make, but I was still pondering over the props to use. Amazon has so many beautiful props, but I want something that is clean and pure sitting on top of the cake, something that I could eat at the same time not only for my social media reason. Luckily enough I have Steve Loretta, our friend who also loves Halloween. He likes Halloween costumes and he loves making Halloween crafts too. Every year he makes skulls made of sugar in different sizes and different colors. We joined him once at the Distillery District market in Toronto where he showcased all the skulls he made and another large table was surrounded by many children and their parents happily painting the skulls, creating their own stories. It was a beautiful scene to watch when you make somebody happy, another perfect way to celebrate Halloween.
I asked my friend Steve if he can make his signature sugar skull for my Halloween cake and right away he asked, "dark or white?" It is even better, who wouldn't like chocolates....... My daughter chooses white but I want it scary. I was very happy and impressed with all the details he put into it and the best part.... he used an excellent quality of chocolate! My first thought was my God! the skull looks like "Steve", we're both happy. Next time, it will be a chocolate sculpture of my head, my face; Believe me, he can create it....do you think it will be creepy? Something to look forward to:)
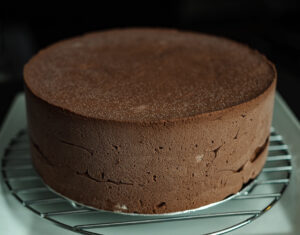
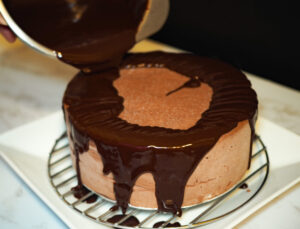
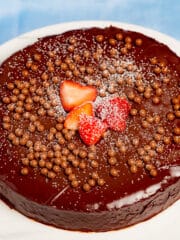
This Beautiful cake is heavenly rich that you only need a thin slice to curb your sweet craving for chocolate. It looks very difficult to make but it is actually quite simple. 3 thin layers of devil's food cake, chocolate mousse, and delicious chocolate ganache, that any leftover dripping is perfect to make for chocolate truffles. This cake is built in a cake ring for perfectly uniform sides and which is actually encased with chocolate mouse and frozen before pouring the ganache or glaze.
📖 Recipe
DEATH BY CHOCOLATE CAKE
Equipment
- Universal cake ring- 8.5cm high edge, pastry bag with 1cm plain tip, 8" cake board or any sturdy board and wrapped with heavy-duty aluminum foil all the way through.
Ingredients
- 1 ¼ cup +2 tbsp all-purpose flour
- ½ cup + 3 tbsp unsweetened coco powder
- ¾ teaspoon baking soda
- ¼ teaspoon baking powder
- ¼ teaspoon salt (pink if available)
- 3 large eggs
- ¾ cup sugar
- ¼ teaspoon vanilla
- ¾ Cup mayonnaise
- ½ cup coffee, room temperature
Chocolate mouse
- 360 Grams whipping cream
- 250 grams dark chocolate, preferably 66%
- 2 eggs
- 4 egg yolks
- 90 Grams granulated sugar
Ganache
- 300 ml whipping cream
- 300 grams dark chocolate, about 60% - 66% cocoa solids
- 3 tablespoon light corn syrup
- 4 tablespoon unsalted butter
Instructions
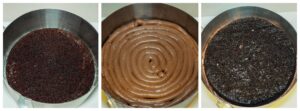
- Preheat the oven to 325°F, line the bottom of three 8" cake pan with parchment paper.
- In a medium bowl, sift the flour, cocoa powder, baking soda, and baking powder.
- Using a stand mixer fitted with whisk attachment place the eggs, sugar and vanilla, whisk for 1 minute at low speed to combine. Increase the speed to medium-low for about 5minutes until the mixture is thick and pale yellow. Scrape the side to the bottom and increase the speed to medium-high, whisk for 5 minutes until the mixture has thickened or when the mixture forms a slowly dissolving ribbon when you lift the whisk.
- Add the mayonnaise and whip to combine. Fold in the dry ingredients and the coffee in two addition each.
- Pour the batter into the prepared pan, and using an offset spatula, spread it to an even layer. Bake for 10-15 minutes or if you insert a skewer in the middle and will come out clean when you pull it out. Set in a cooling rack and cool completely
Chocolate Mousse
- Whip the cream to a soft peak and put it in the fridge.
- Melt the chocolate over a double boiler and transfer it to another bowl and let cool.
- Meanwhile, whisk the eggs, egg yolks, and sugar into the double boiler over simmering water. Initially, the eggs will increase in volume and foam but after 5-7 minutes, it will subside and the eggs will thicken. Watch the temperature closely until 183°F because the eggs will set if it's too hot. Immediately transfer it to the bowl of a stand mixer fitted with the whisk attachment and whisk on medium-high speed for about 7 minutes, until the mixture thickened. The mixture will form a slowly dissolving ribbon when the whisk is lifted.
- Whisk ¼ of the whipped cream into the chocolate to combine, fold in the egg mixture, then fold the remaining whipped cream. Transfer the mousse to a pastry bag.
Assembly 1
- Center the cake board, wrap it with heavy-duty aluminum foil on a large serving dish and place the cake ring. There should be a ⅛" gap between the cake board and the cake ring.
- Place the first cake layer into the cake board and pipe a ring of the chocolate mousse to fill the gap between the edges of the cake and the cake ring. Then pipe a spiral from the center to the edge. Center the second cake over the first layer and repeat the piping followed by the third layer and pipe again. *See notes Assembly 2.1
- Using a long offset spatula, sweep the top from the right edge to the left edge of the ring for a perfectly smooth surface. Place the cake in the freezer overnight. Put any excess chocolate mousse in the refrigerator to be used in case the cake has dipped in at the middle while resting in the freezer.
Dark Chocolate ganache
- Place all the ingredients into the double boiler over simmering water, stir until the mixture is smooth and shiny. Keep it warm but not too hot.
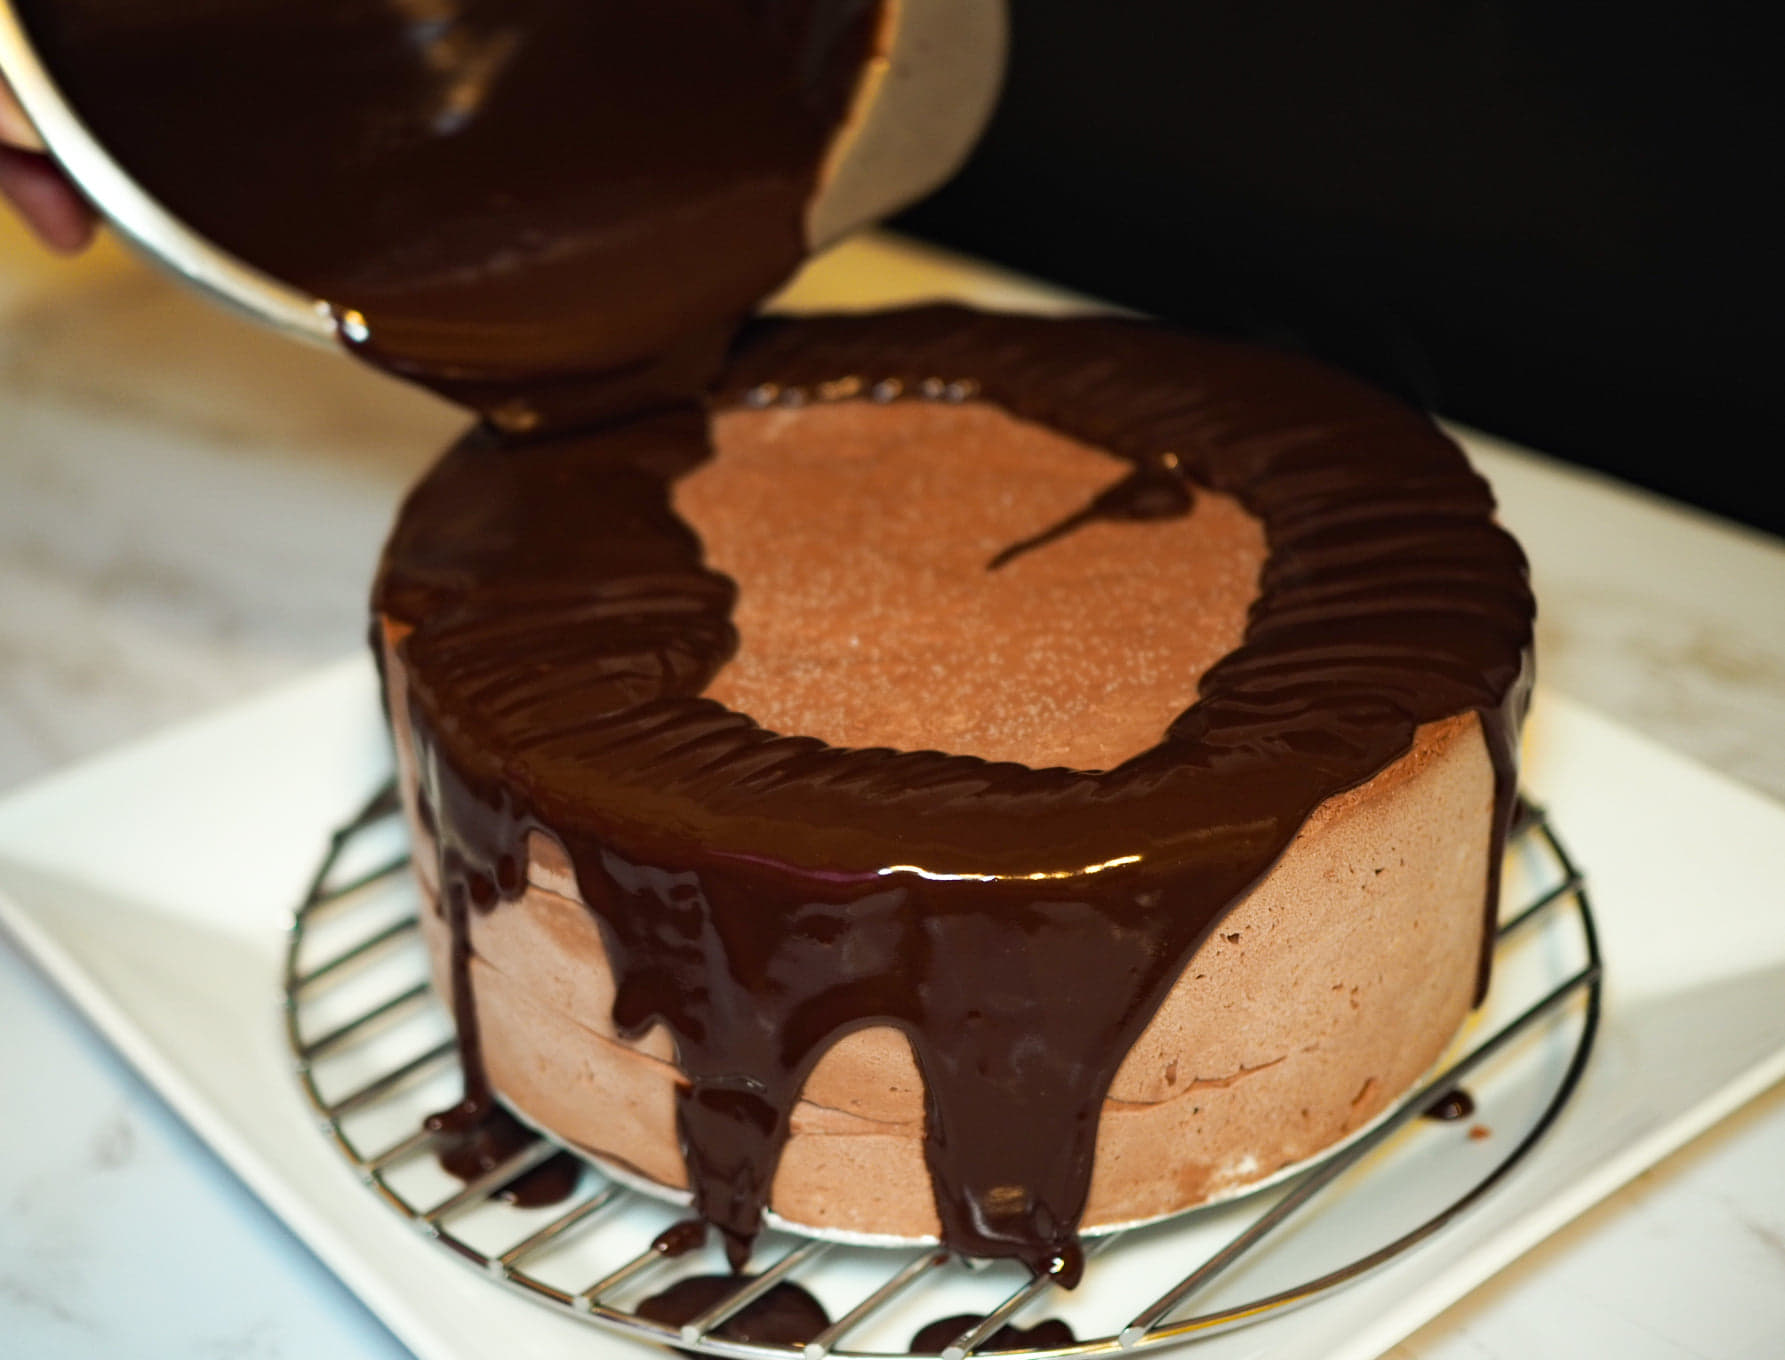
To Assemble The Cake
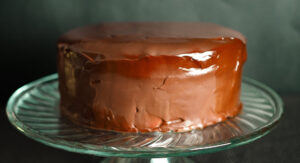
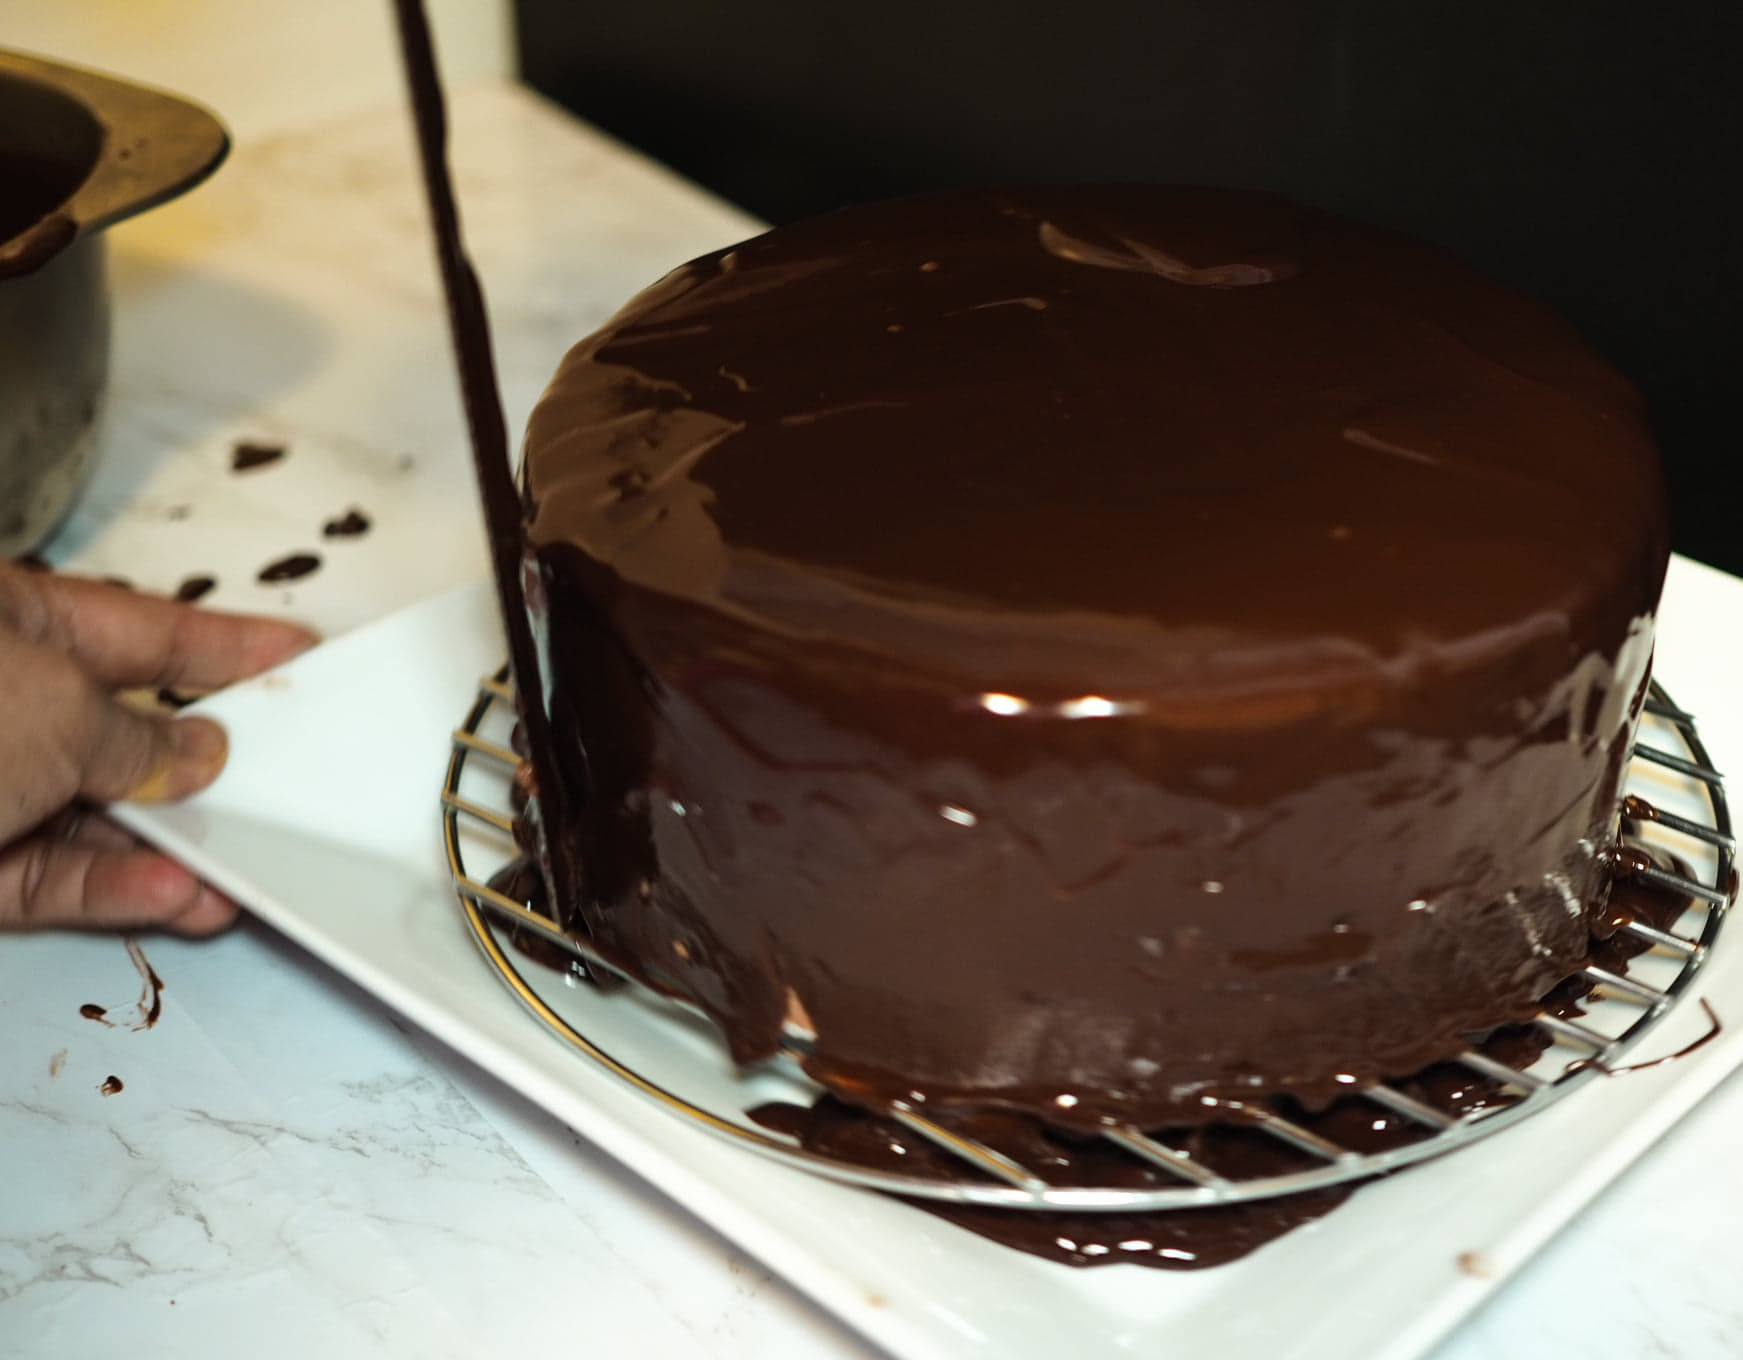
- Line a sheet pan with parchment paper and set a cooling rack on top. Place the frozen cake still in the ring on top. Warm the sides of the ring with a warm towel if needed. Slowly remove the ring. In one smooth, quick motion, pour the hot ganache beginning 1" from the edges allowing to flow down the edges and to the center. Quickly use your offset spatula to help spread at the top and tap the sheet pan against the work surface to evenly distribute the ganache.
- Using a cake lifter, transfer the cake to a serving dish
Notes


Thank you for coming! Let me know what you think.